Generative Fill with Firefly 5
Adobe has integrated the Firefly Image 5 model into the Generative Fill command in Photoshop Beta. Features introduced in the beta version typically migrate to the main release of Photoshop within about a month. This means you can treat this lesson as a preview of upcoming updates or install the beta now to start using it immediately.
Firefly Image 5 takes a distinctly different approach from other models, such as Nano Banana, by supporting instructive edits. With this capability, it can adjust the color and contrast of an image, perform retouching, or make targeted changes while preserving all the original details in the the photo.
That is in contrast, other models which noticeably alter the overall appearance of affected areas, rendering faces and objects in ways that make them look similar but not identical to the originals.
Photo to 3D Rotatable Object
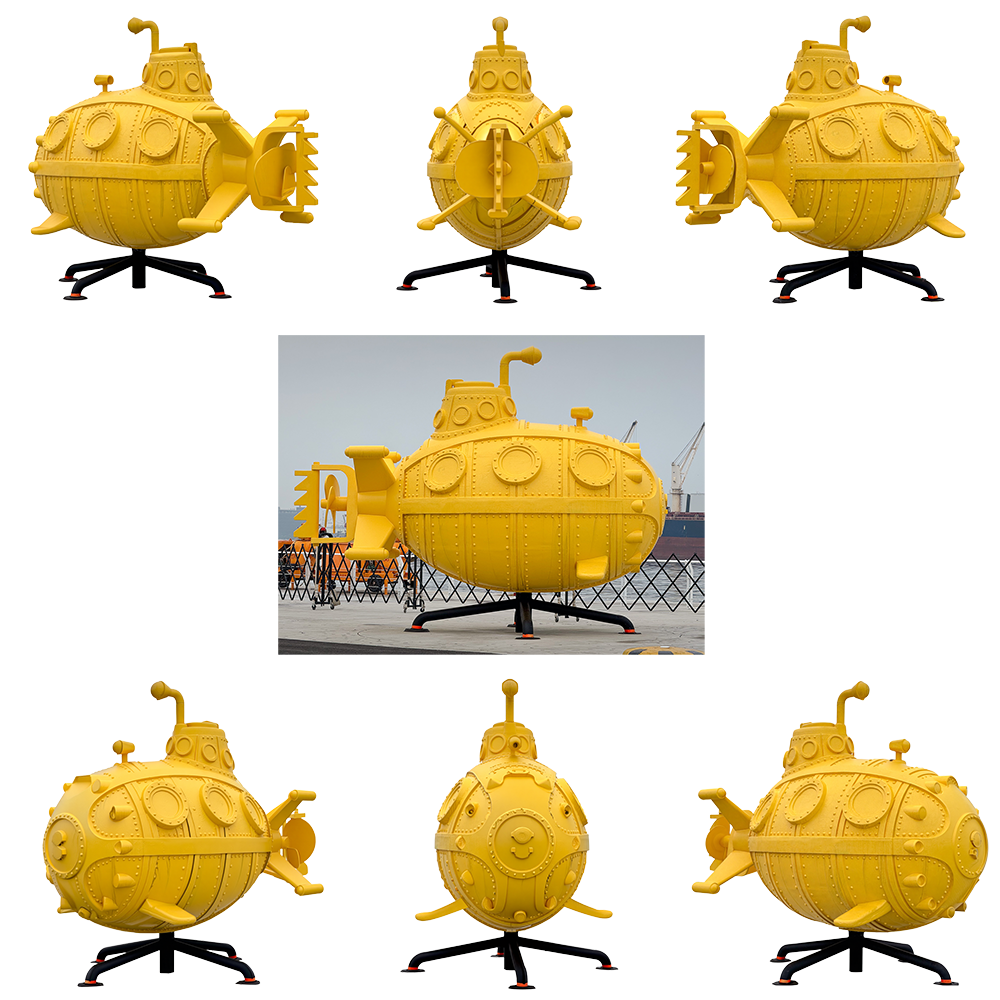
In this lesson we'll explore how to transform any two dimensional photograph into a 3D rotatable object using the Rotate Object feature that has been recently added to Photoshop Beta. Features added to the beta version of Photoshop are usually incorporated into the main version within a month or so, so you can either use this as a preview of what is to come, or install the beta and start using it right away. This new feature becomes more powerful when combined with the Layer>Harmonize command which can modify the lighting, color and shadows of an object after you place it onto an alternative background.
Just beware that converting an image into 3D requires 20 generative credits and you only get so many of credits each month with your Photoshop subscription.
Travel Photography Mindset
In this lesson I describe my mindset when taking photos while travling to an international location. What do I search out, how do I think about the locals and tourists and what is my mental shot list that I'm wanting to capture.
Q&A: iPhone Raw Adaptive ISO
In this lesson I answer questions submitted by other Masters Academy members which includes: How can I get my iPhone to shoot Raw? How do I create and use ISO Adaptive Presets? How do I change the order of images and combine multiple galleries in an Adobe Portfolio Web site? How many AI credits am I using up? Feel free to ask your own questions in the comments below.
I also referenced the following web pages in the lesson:
Adobe Photoshop Generative Control
February 2026 LRC Update
In this lesson we explore the changes that Adobe made to Lightroom Classic in Fenruary of 2026. The release for this time of year is usually only a bug fix, but this time they as snuck in new features such as improved assistive culling, Denoise improvements for some cameras, support for the WebP file format and an easy way to send images to Adobe's Firefly web site for AI editing and video generation.
Excire Search LRC Plug-In
In this lesson we'll take a look at a plug-in for Lightrom Classic that I've been using that can use AI to keyword your images and allows you to search for images using a text prompt. It's a paid plug-in that can be acquired at www.Excire.com and you can use the discount code of BENW to receive 15% off. I've been using it regularly and therefore though you might want to know about it.
February 2026 PS/PS Beta Updates
In this lesson we explore the changes Adobe made to Photoshop and Photoshop Beta in February of 2026. That includes a new model for Generative Fill, improved Remove Tool and new Dynamic Text options.
Creating Museum Templates
In this lesson I show you how I created the templates that I supplied a few weeks back. That involves perspective distortion, emulating room lighting, applying reflections and textures and more.
Your Images In A Museum
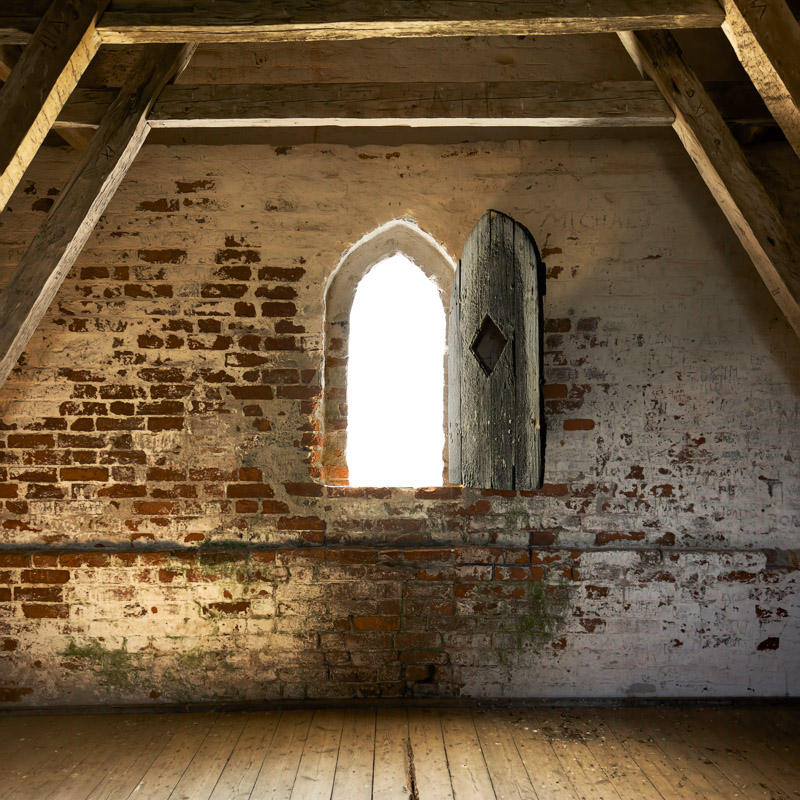
This lesson is more about the downloads than it is about the video. That's because I've spent the time to create some templates to make it so you can have your images appear as if they were in a museum with very little work on your part.
Fixing Issues with Skies
In this lesson we explore why the skies in images often do not look natural after optiming an image and the steps you can take to fix those issues.
Coffee Table Book Project
In this lesson I discuss the specialized Lightroom and Photoshop techniques I used when I was prepairing a coffee table tyle photo book for printing on a offset printing press. You'll see how I tweaked imges that were shown on a same page to make sure they looked good as a group, how I handled B&W images, how I dealt with the concepts of bleed, printing signatures and more. Some of the concepts will be useful even if you never plan to have a book printed.
December 2025 PS, PS Beta & LRC Updates
In this lesson we'll explore the changes Adobe made to Photoshop, Photoshop Beta and Lightroom Classic in December of 2025. Changes include new Dehaze & Clarity and Grain adjustment layers in PS beta and a new invert icon in Hue/Saturation in PS. Lightroom Classic also gains full support for the PSB file format which can be useful to overcome the limitations of PSD and TIFF file formats.
Nano Banana Pro in Photoshop
In this lesson we'll explore the new capabilities available when using Nano Banana Pro in the Generative Fill dialog box of Photoshop. This new generative AI option has been greatly improved. This web page explains credit usage for Adobe's generative AI options.
Assisted Culling in Lightroom Classic
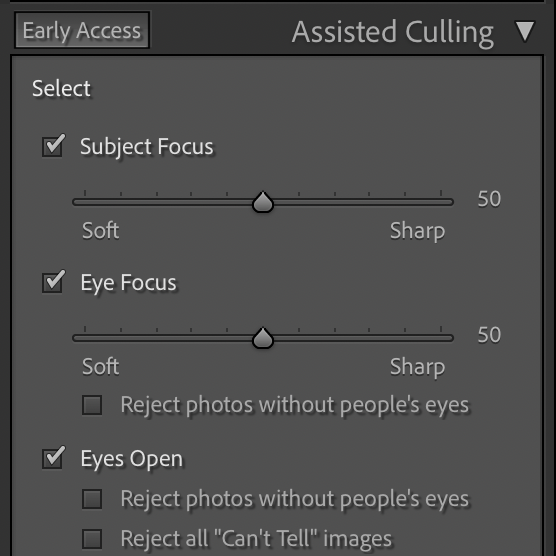
In this lesson we're look at the new Assisted Culling feature in Lightroom Classic which uses AI to attempt to rate the sharpness of an image and establish a threshold for acceptable sharpness of the subject and eyes. The feature was designed specifically for portrait photographers and is less effective on group shots.
Customizing Adobe Portfolio Layouts
In this lesson I'll show you how to customize the style and layout of an Adobe Portfolio web site. If you have not already watched the lesson about creating a portfolio website, then watch that one first since it is essential to being able to understand this lesson. Also check out the web site for my The World is my Yoga Mat project for fully built-out web site created using Adobe Portfolio.
Creating a Portfolio Website
Learn the essentials for creating up to five fully functioning web sites populated with images from Lightroom Classic or other sources using Adobe Portfolio. This service is included with most creative cloud plans that include access to Photoshop or Lightroom.
More LRC Masking Tips
In this lesson we'll explore tips and tricks for working with masked adjustments in Lightroom Classic. Many of the techniques would also apply to Adobe Camera Raw.
LRC Masking Tips & Tricks
In this lesson I'll share a boat load of tips & tricks for creating masks in Lightroom, Lightroom Classic or ACR. There's so much that can be done that this will not be the last time we explore this topic.
Libraries in Photoshop
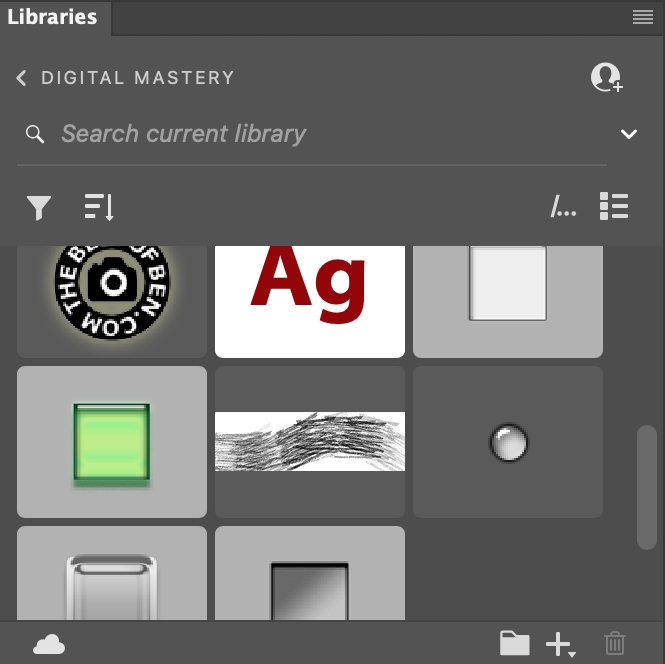
In this lesson we'll explore the Libraries panel in Photoshop, which is a convenient place to store frequently used graphics, colors, type styles, layer styles and templates. Once you have a Library, you can then share it with your co-workers or the general public and you can also access the assets it contains in other Adobe programs such as InDesign or Illustrator or even your web browser.
Point Color & Variance
In this lesson we'll do a deep dive on the Point Color feature in Camera Raw and Lightroom and spend a good amount of time looking at the new Variance slider.
October 2025 Bridge & PS Update
In this lesson we look at the changes Adobe made to Bridge and Photoshop in October of 2025. Changes include white balance controls in the Vibrance and Saturation adjustment, improved select subject, AI Denoise, AI Sharpen, Generative Upscale and Place Free Adobe Stock Images.
October 2025 LR/LRC/ACR Update
In this lesson we explore the changes that Adobe made to Lightroom Desktop, Lightroom Classic and Adobe Camera Raw in October of 2025. Changes include assistive culling, auto-stacking, the new Variance slider in Point Color, Landscape Mask>Snow, AI Dust Removal and much more.
Processing Practice: Skagen Denmark
In this lesson I show how I optimized an image by removing lens flare, bending multiple interpretations of the raw file and then adding an Orton effect (soft contrast effect).
Live Photo Long Exposure
In this lesson I show you how to improve the quality of long exposure photographs taken with the iPhone. Those that are captured in Live Photo mode.
Color Interpretation
In this lesson I show you how to use a combination of the Calibration sliders and the Color Mixer controls in Lightroom Classic (also available in ACR) to reinterpret the colors in an image.
AI Haze Reduction
In this lesson I show how the Remove Tool's Reflection Removal feature can be used to reduce haze in an image. I also show how to use the histogram to determine when the Haze reduction has gone too far and how essential it is to tweak the profile of an image to obtain satisfatory results.
Indigo vs Apple Camera App
In this lesson we'll compare and evaluate the difference between images captured using the iPhone's native camera app and Adobe's Project Indigo app. In the process you'll learn abot how it handles everything from digital zoom, macro photography, low light shooting, daytime shooting, sunrise/sunset shots an scenes with great dynamic range.
Note: There is no PDF companion guide for this lesson since it mainly covers comparing images side by side and describing the differences.
Project Indigo Camera App
I this lesson we'll explore Adobe's new Project Indigo iPhone camera app. They'll also working on an Android version that I hpe will be released soon. This alternative camera app features full manual control (shutter speed, ISO, white balance, etc), but also uses computational photography to capture multiple images and merge together to produce images that have more detail, less noise and higher dynamic range. It will also allow you to take long exposures and much more.
Nano Banana in Photoshop
In this lesson, I’ll introduce Nano Banana, a new option within Photoshop’s Generative Fill. Powered by Google’s Gemini AI engine, it lets you add, change, or blend elements in your image with just a short description—while keeping the rest of the scene consistent. From swapping colors to adding objects or exploring bold creative edits, I’ll show you exactly what Nano Banana can do.
Shooting & Processing Tips
In this lesson I share with you a few iPhone shooting tips that I used in my recent trip to Northern Europe as well as two processing tips I used on images on captured during that trip. The tips have to do with compensating from increased vibrance and using adaptive profiles.
Panorama Fixes III
In this lesson I show you how I dealt with three panoramas that needed tweaking. All three involve warping areas to either make them align with other elements, to straighten a horizon or to prevent distortion.
Processing Practice: Axel Towers
In this lesson I show you how I processed an image from a recent trip to Copenhagen, Denmark.
August 2025 PS Beta Update
In his lesson I go over the changes Adobe made to Photoshop Beta in August of 2025. Most changes found in the beta version will eventually make their way into the release version. Changes in Photoshop Beta 26.11 include:
- Collaborative Editing with Projects
- Harmonize
- Generative Upscale
August 2025 PS ARC LRC Updates
In this lesson I show you the changes Adobe made to Photoshop, Adobe Camera Raw and Lightroom Classic in July & August of 2025. Changes in Photoshop 26.10 include: Quiet Mode Preference, Generative Credits Remaining Indicator, Ability to Choose Model in Generative Fill, Faster & Improved Remove Tool, New Shape Tool: Star, Revised Sharing Feature, Remove Button in Task Bar & Layer Option in Remove Tool. Changes in ACR 1.5 include: Photoshop Quiet Mode Preference Respected, Faster & Improved Generative Remove and Remove Dust. Changes in LRC 14.5 include: Generate Previews Using GPU Preference and Subsets in Develop Settings>Copy Settings.
LR Mobile -> LR Classic Syncing
In this lesson we'll explore how to get the Lightroom Ecosystem (Lightroom, Lightroom Mobile, Lightroom Web, etc.) to Lightroom Classic and how to manage images that originated in one of the other Lightroom apps and were synced back to Lightroom Classic. With only a limited amount of space allocated to your account, you will need to know how to clear space to prevent syncing from being interrupted.
Lightroom Mobile: Export & Sync
In this lesson we explore how to get your images out of Lightroom on the iPad. There are options for Save, Share, Export and Sync and we'll explore them all. We'll also look at how to get your images onto your computer using USB, Wifi, or cloud sync and the advantages and disadvantages of each choice.
June 2025 PS LR LRC Updates
In this lesson we look at the features that were added in June of 2025 to Photoshop, Adobe Camera Raw (ACR), Lightroom, Lightroom Classic and Lightroom mobile. These changes include people and reflection removal, denoise and super resolution that does not produce a derivative .DNG file, a new Variance slider in Point Color and much more.
Lightroom Mobile: Organize & Cull
In this lesson we explore the organizational featrues available in Lightroom Mobile on the iPad. You'll see how to rate and flag images and cull them down to just the ones that are worth adjusting. We'll also explore how folders and albums can be used to organize your images an even how to present slide shows.
Optimized Photoshop Settings
In this lesson I show you all the settings that I trypically change when I'm confiiguring Photoshop from a fresh installation. You'll see what preferences I change, which tool settings I tweak, how I setup my panels and much more. This topic was recently suggested by a Masters Academy member.
Note: There will be no PDF companion guide for this lesson since there are no step-by-step techniques that would need to be reproduced in the future to accomplish what is covered in the video.
Real World: Station Tweaks
In this lesson I show you how I accomplished a few tweaks to two of my vintage service station images. Iin the first I needed to brighten some guide wires that supported a sign and had trouble selecting them. I the second image I dressed up some gas pumps by adding signs and graphics that conformed to the perspective of the image.
Lightroom Mobile: Importing
In this lesson you'll learn how to transfer images from your camera or SD card onto an iPad and into either the Files app or Lightroom app as well as how to also transfer the images onto an external SSD drive. You'll then see the various methods for getting images into Lightroom from your camera roll on the iPad or other sources. The idea is to be able to travel with a tablet instead of a laptop.
Photoshop for iPhone
In this lesson we'll explore the newly released Photoshop for iPhone app to see what it's capable of.
Photoshop for iPhone II
In this lesson we'll look at more advanced uses and features in Photoshop for the iPhone. We'll also discuss refinements you might be to perform using the desktop version after starting a project on the iPhone.
Real-World Panorama II
In this lesson we will continue to work on the same panorama image that we recently stitched in this lesson. We'll perform retouching to remove stitching issues and fill the empty areas of the image so we'll end up with a rectangular shaped image.
Real-World Panorama
In this lesson we'll look at a difficult panorama that Lightroom Classic was unable to stitch. When the image was stitched using Photoshop, it was distorted where vertical lines were all tilted, so we'll explore how to straighten then using the Adaptive Wide Angle filter.
April 2025 LRC & ACR Updates
Adobe released an update to Lightroom Classic and Adobe Camera Raw during their MAX conference in London in April of 2025. In this lesson I go over what is new and different in the updated versions.
April 2025 Photoshop Updates
Adobe released an update to Photoshop and Photoshop Beta during their MAX conference in London in April of 2025. In this lesson I go over what is new and different in the updated versions.
Lightroom Classic: Masking Tips
In this lesson I share a bunch of tips related to working with masked adjustments in Lightroom Classic.
Challenge Image: Red Truck
In this lesson I tackle a challenge image that was submitted by a Masters Academy member. It involves adjusting a severely under exposed image so that it matches another photograph of the same scene that was captured from a different angle. And then reflections needed to be removed from the hood of a vehicle. In the process, you'll learn about all sorts of adjustments in Adobe Camera Raw, which could also have been performed using Lightroom.
Q&A: Maps & LRC Cats
In this lesson I answer some questions that have recently been asked of me about Photoshop and Lightroom Classic. I cover how to combine multiple map images, how to add a new hard drive to the Lightroom Classic folder list, how to switch to a backup drive and how to safely move your catalog folder. I also demonstrate a new feature in Photoshop Beta that should be coming to the main version of Photoshop soon, which is Dynamic Text.
Creative Practice
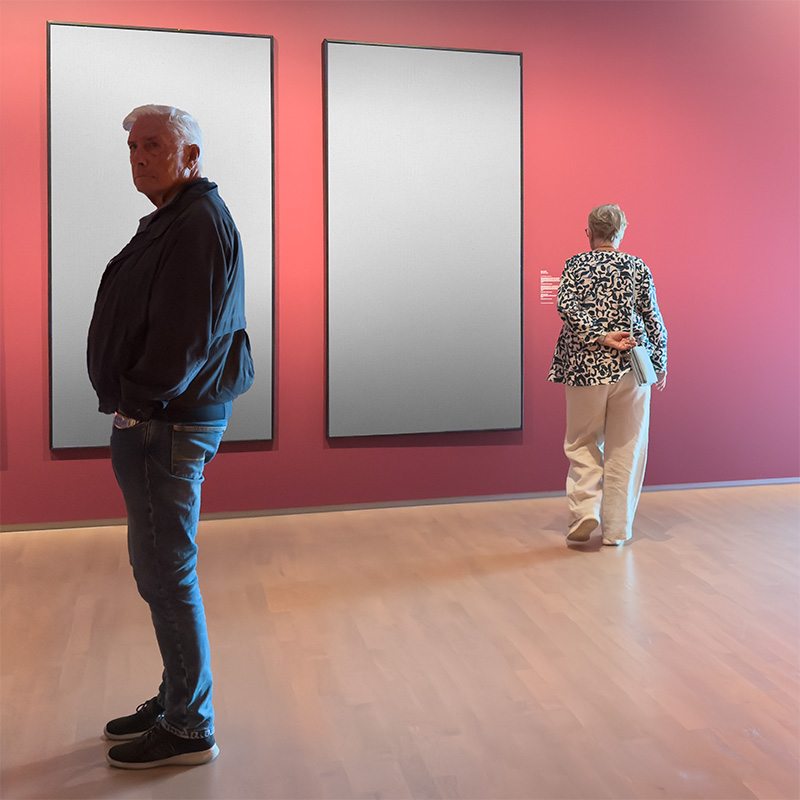
In this lesson I show you how I took a photo of an art gallery and replaced one of the paintings with a photograph. To make it look at all real, I had to make the photo appear to be faded, apply wrinkles and texture and much more.
Lightroom Classic: Parting Thoughts
Just a quick wrap-up for those who have watched the full series of lessons that make up this bootcamp-style course on Lightroom Classic.
Lightroom Classic: Syncing to Mobile & Web
In this lesson we'll explore how you can get the images you have in Lightroom Classic to sync to the cloud so you can view them in a web browser, or in Lightroom on your mobile device.
Lightroom Classic: Tips & Tricks
In this lesson I cover a wide variety of tips and tricks that can be useful when working in Lightroom Classic.
Lightroom Classic: Maintenance & Troubleshooting
In this lesson, we'll explore how to maintain your Lightroom Catalog long-term to keep it working efficiently. We also cover how to manage backups, how to switch to another computer and how to switch to your image backup drive and other troubleshooting tasks.Update: Backup settings have been updated since this video was recorded, which are detailed in this lesson.Tip: To rename a hard dive on Windows: 1) Right-click on the Windows Start Button and choose Disk Management, 2) Right-click drive you'd like to rename and choose Change Drive Letter and Paths, 3) Click Change and choose a high letter (not one of the first five), then click OK. Or follow this detailed post on Microsoft's web site.
Lightroom Classic: Tethered Capture
In this lesson I show you how to connect your digital camera to your computer with a USB cable so that you can capture images directly into Lightroom Classic. You can also automatically apply presets, and trigger the camera directly in Lightroom.Update: Adobe has added the ability to tap to focus when shooting tethered, which is covered in this update lesson.
Lightroom Classic: Printing
In this lesson we'll look at what it takes to print images from Lightroom Classic's Print Module. It will take quite a while to go through all the settings involved, but in the end, I usually save the settings in a Preset which makes future visits to the print module much more brief before I can get it setup the way I desire. I also cover Soft Proofing, which is how you can get your computer to show you what your image should look like once it's printed using a particular combination of printer, inks and paper.
Lightroom Classic: Creating Photo Books
In this lesson we'll explore Lightroom Classic's Book Module. Once you're finished laying out a book, you can order a printed copy directly from within Lightroom, or export the resulting pages as a series of JPEG images that you can upload to a printing services web site, or print yourself.
Lightroom Classic: Map Module
In this lesson we explore Lightroom Classic's Map Module. You'll see how to add photos to the map, navigate the map and quickly move between locations.
Lightroom Classic: Presenting Slideshows
In this lesson we'll look at all the settings related to presenting slide shows in Lightroom Classic. There are more settings than you will care to think about, but once you create a template, then things will become easy since from that point on, you'll just choose the template that is closest to what you desire and then only tweak 2-3 settings to customize it for a particular presentation. We'll also look at how to export a slideshow so you can play it outside of Lightroom.
Lightroom Classic: Round-Tripping to Photoshop
In this lesson we'll look at what's involved in moving images between Lightroom Classic and Photoshop. There are a bunch of settings involved and some interesting ideas to discuss.
Lightroom Classic: Desktop & Laptop
In this lesson we'll talk about how to use Lightroom Classic on multiple computers. The most common instance would be to have a desktop machine at work and a laptop for when you're traveling. What are your options for keeping things in sync between those machines?
Lightroom Classic: Panoramas
In this lesson we'll cover how to shoot, merge and optimize panoramas.
Lightroom Classic: High Dynamic Range
In this lesson we'll explore how to merge and optimize high dynamic range (HDR) images. That's when you attempt to capture the full brightness of a scene by capturing multiple images at different exposure settings and then combine them together into a single images that contains the full brightness range of the individual shots.Update: HDR display is now supported in the grid view of Lightroom Classic's Library module.
Lightroom Classic: Intermediate Color Adjustments
In this lesson we'll explore Lightroom Classic's Color Mixer, Point Color, Masked Hue and Color Grading adjustments and see how they will allow you to fine-tune the color in your images.
Lightroom Classic: Detail & Geometry
In this lesson we'll look at the not so sexy topic of detail and Geometry corrections. That's where we'll learn about sharpening, noise reduction, chromatic aberrations, defringing, and geometric transformations. These are essential adjustments to achieve high quality.
Lightroom Classic: Creative Adjustments
In this lesson we'll explore the creative side of adjustments in Lightroom Classic which includes Calibration, Creative Profiles, Lens Blur and Post Crop Vignetting.
Lightroom Classic: Retouching
In this lesson we'll explore Lightroom Classic's retouching tools which include the Clone, Healing and Remove tools.also switching tools no longer changes existing retouching... now has a pop-up menu to change itmoved the tool overlay setting from bottom to up close to tool options... with with visualize spotsRemove tool now has AI and detect objects options
Lightroom Classic: Masked Adjustments
In this lesson we'll explore Masked Adjustments in Lightroom Classic which will allow you to apply changes to isolated areas of an image.
Lightroom Classic: Intermediate Organization
In this lesson we'll go beyond the basics when organizing your images and incorporate
Lightroom Classic: Keywords
In this lesson I show you how to make your images searchable by tagging them with keywords. Then we look at all sorts of features related to using keywords and how to find your images based on them.
Lightroom Classic: Exporting
In this lesson I cover how to export your images from Lightroom Classic so you can deliver a usable file to someone else. We look at all the settings found in the export screen and how to speed up the process using presets.
Lightroom Classic: Importing
In this lesson I walk you through all of the settings found in Lightroom Classic's Import screen and detail when you'd modify the default settings to optimize your setup. I also cover how to create import presets, metadata presets, file renaming presets and how to rename images after you import them.
Lightroom Classic: Essential Concepts
This lesson is the first of a full series of 18 hours of training on Lightroom Classic that covers its features from start to finish. Here we start with the absolute most essential concepts that you should know before you even consider using Lightroom. We look at what's different between Adobe Camera Raw (ACR), Lightroom and Lightroom Classic for processing raw files. I also show how to install the program and customize your identity plate.
Lightroom Classic: Organizing & Projects
In this lesson I walk you through the options for organizing your images using Lightroom Classic. That includes working with folders, collections, ratings, and filtering your images to only view the images you're looking for.
March 2025 PS Beta Update
In this lesson we'll explore the changes that Adobe made to Photoshop Beta in March of 2025. The changes include the ability to quickly select particular areas of the human body, and improvement to the Select Subject feature and a redesigned Hue & Saturation adjustment. I also throw in a few tips for refining selections.
Lightroom Classic: Basic Adjustments
In this lesson the adjustments found in the Basic section of Lightroom Classic's Develop module are discussed.
Natural Shadow 2.0
In this lesson I show you how to remove the background from a natural shadow and overlay it onto a new background. That has been covered in previous lessons and this lesson updates the technique for times when the background on the original image is not as simple or has objects mixed within the shadow area.
LRC Locations Database
In this lesson I show you how I keep track of all the potential shooting locations I'd like to photograph in the future. I utilize a Lightroom Classic Catalog and place images I find on the internet and from other sources onto a Map and organize them by type and have them automatically broken down by which state they are located within.
Pen Tool Practice
In this lesson I use the Pen tool to isolate a subject from its background. We've covered the Pen tool in the past and this lesson is just an example of a real-world use for the tool and allows you to get some practice under your belt. I also cover general tips for using the Pen tool, how to convert the result into a Vector Mask and how to add an Inner Glow to modify the edge quality of the resulting image.
February 2025 ACR LR LRC Updates
In this lesson we'll look at the changes Adobe has made to Adobe Camera Raw (ACR), Lightroom (LR) and Lightroom Classic (LrC) in February 2025. The new features in Adaptive Profiles for raw files, quickly removing people, before and after view, dual display support and performance improvements.
Challenge Image-HDR & Noise
In this lesson I tackle a challenge image that was submitted by a Masters Academy member. The challenge was to merge three exposures into an HDR image, optimize the image while keeping noise at an acceptable level. In the end I found it was better to process a single image and then do further optimizations which produced a better result than merging multiple exposures.
Generate Files from Layers
In this lesson I demonstrate how to quickly save out separate files for specific layers in a document by using the Generator plugin. By simply changing the name of a layer and adding a file extension (such as .jpg) a new file will be generated and then you can add a percentage to scale the layer or a quality setting. This can be very useful when needing to break up a complex photoshop document into a multiple images such as when creating web graphics.TIP: In the lesson I mention adding a .jpg, .png or .gif file extension to the end of a layer name. I neglected to mention that you can also use .svg to produce a Scalable Vector Graphic which is only useful when you use vector-based features such as text or shape layers instead of layers that are pixel-based. When that's the case, the resulting image can be scaled infinitely without degrading color, which is great for things like a company logo.
Masking Blonde Hair
In this lesson I show you techniques for replacing the background on people who have blonde hair and ensuring that the results look natural.
December 2024 LRC LR ACR Updates
In this lesson we'll go over the changes Adobe made to Lightroom Classic, Lightroom and Adobe Camera Raw in December of 2024. This includes an addition to the Lens Blur feature, New Edit in Photoshop options for Lightroom and an amazing Reflection Removal feature in Adobe Camera Raw.
Cinematic Post Processing
In this lesson I demonstrate how to transform an image to give it a more cinematic style. This involves manipulating the colors in the image using the Calibration section of Lightroom or ACR, applying Color Grading and then fine-tuning the tonality of the image. I also supply you with a set of presets that can speed up this process.
Retouching Practice III
In this lesson I cover how to perform retouching using frequency separation which breaks an image into two layers, one that contains the fine details and another with the overall color and shading. I then show how to retouch the shading without affecting the fine textures in the image. I also share techniques for fixing edge artifacts that are caused by using masked adjustments in ACR or Lightroom.
Select & Mask for Hair & Fur
In this lesson I show you how to remove the background on objects that have furry, fuzzy, hairy or blurry edges using Select>Select & Mask.
High Key Post Processing
In this lesson I show how to transform just about any image into a High Key image. Such images feature bright, light tones and minimal shadows to create an overall luminous and upbeat visual effect. In the process you’ll also become much better acquainted with how various adjustments affect the histogram.The downloadable practice images for this lesson have been compressed into a .zip archive. You will need to double-click on the file after downloading to extract its contents before attempting to use the images in Lightroom or Photoshop.
October 2024 PS ACR LRC Update
In this lesson I'll show you the new features that were added to Lightroom Classic, Adobe Camera Raw and Photoshop in October of 2024. The new features include changes to the crop tool, remove tool, generative fill and much more.
Q&A: Custom Panels, iPhone Files, White in PSD
In this lesson I answer questions that have been submitted by Masters Academy members. In this installment, we’ll discuss the following questions:
- How can I create a custom panel in Photoshop where I can add buttons and controls that will apply actions?
- Lesson suggestions for Lightroom on iPad and processing High Key images
- Why do some of my .PSD files contain unexpected white when I preview them, but the full image appears when I open it in Photoshop?
- Can you explain the various files I get when I transfer images from my iPhone to my computer. There are more than I expected.
Adobe also recently released an update to Photoshop and I show you what's new... not much.
Residential Interior Retouching: Part 2
In this lesson we explore the more advanced side of retouching residential interiors. We'll add a TV to a wall and make sure it conforms to perspective of the room, add furniture, straighten picture frames and much more. There's also a bonus video at the end that shows how to remove glare that often appears near windows.
Residential Interior Retouching Part 1
In this lesson we look at some of the most common retouching that is applied to interior photographs. From removing outlets, wires and reflections to simplifying the contents and reshaping wires. Regardless if that's the kind of stuff you need to do, you'll learn valuable retouching tips and tricks.
Residential Interior Adjustments
In this lesson I share some masked adjustments that I typically apply to photos of residential interiors. These include making lighting glow, fixing haze and general optimizations.
Residential Interiors: Composing Mindset
In this lesson I show how a residential interior can be captured in such a way that informs the viewer so they do not need to see a floor plan to understand the layout of a space. This can be used for real estate listings, magazine features and anytime you want to visually tour a home using still photos.
August Photoshop Beta Update
This lesson explore the new Remove Distractions option that was added to Photoshop Beta in August of 2024.
Lens Flare Overlays
In this lesson you'll learn to add lens flare effects to your images to produce a unique style.Note: The downloadable practice images for this lesson have been compressed into a .zip archive. You will need to double-click on the file to extract its contents after download before you attempt to use the images in Photoshop.
Extract iPhone Depth Maps
In this lesson you'll learn how to extract the Depth Map that is generated by an iPhone when you capture images in Portrait mode. You'll then be able to use that map in Photoshop to do more accurate shallow depth of field effects because you'll be able to edit the map. This may also work for images captured using an Android phone, but I don't have one to test it with.
On Location: Tokyo, Japan
In this lesson I share the images that I recently captured in Tokyo, Japan and talk about which images made the grade, which ended up as outtakes and any special processing I applied to finish off the images.

